best free ai text to video generators: real free tiers + workflow
best free ai text to video generators explained: what’s truly free, the real limits, and a workflow to get usable clips. Read the guide.
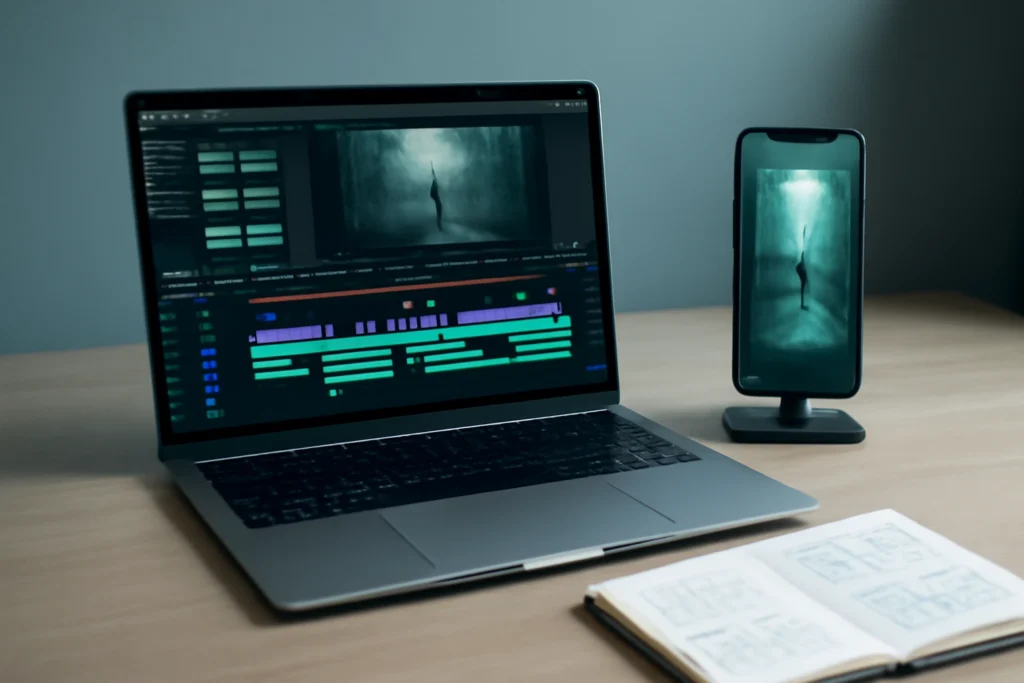
Intro: What “free” means for text-to-video in 2026 (and what this guide covers)
Searching for the best free ai text to video generators usually ends with a tradeoff: watermarks, low resolution, short clip limits, slow queues, or credits that run out after a few retries. This guide focuses on free tiers that are genuinely usable for creating 10–30 second social clips, plus a repeatable workflow that helps you get decent results without wasting your limited runs.
For this article, a free tier means you can keep using the tool without paying (even if it’s capped). A free trial is time-locked or feature-locked and ends. A common middle ground is “freemium with watermark,” where you can export but branding remains unless you upgrade.
Free text-to-video is most reliable for short b-roll shots, stylized motion clips, quick transitions, and draft concepts you’ll refine later. It’s still inconsistent for complex multi-character scenes, readable text inside the generated frames, tight continuity across shots, or anything that must be correct on the first render.
How to evaluate best free ai text to video generators before you commit time
best free ai text to video generators: an 8-point checklist you can run in 10 minutes
- Watermark: Can you export without branding, and if not, is the watermark acceptable for testing?
- Resolution and aspect ratios: Is free export capped, and can you generate or export vertical (9:16) reliably?
- Clip duration: Maximum seconds per generation, and whether you can stitch multiple clips inside the tool.
- Credits and refills: How quickly credits refill (daily/monthly), and how expensive reruns are.
- Speed and queues: Whether free users face long waits at peak times.
- Control: Prompt adherence, camera/motion control, style consistency, and (if available) reference images or seed-like repeatability.
- Editing and finishing: Captions, cut tools, music, voiceover, and basic timeline control—so you’re not forced to export early.
- Rights: Whether your plan allows commercial posting and paid promotions. Always verify for your specific tier.
If you want a simple scoring approach, rate each criterion 1–5. A “5” means the free tier is practical for repeated testing and social drafts. A “1” means the demo is impressive but the free tier is too constrained to rely on.
The best free-tier tools right now (shortlist with mini-verdicts)
InVideo (best for turning scripts into social videos with stock + voiceover tools)
InVideo is typically strongest when your goal is a finished social post built from a script: stock footage support, template-driven structure, captions, and voiceover options depending on your plan. It’s less about generating “AI cinema” from scratch and more about moving from idea to a coherent edit quickly.
What to expect on free: Most script-to-video platforms keep the free tier usable for drafts but add meaningful limits—often watermarks, export caps, or restrictions on premium media. Treat the free tier as a way to validate your workflow (script → scenes → captions → export) before you commit time to a larger library.
Best use case: Faceless explainers, listicles, promo montages, and “hook → points → CTA” videos where structure and pacing matter more than fully synthetic visuals.
Mini-verdict: Choose it if you want an assembly line for social drafts. If your priority is prompt-generated b-roll that looks cinematic, pair a generator-first tool with an editor instead.
Pika (best for stylized short clips and punchy motion from prompts)
Pika is a good fit for short, attention-grabbing shots—intros, transitions, stylized motion beats, and quick visual experiments. It generally responds best to prompts with a clear subject, one action, and simple camera direction.
Typical free constraints: Expect limited credits, shorter durations per generation, and slower queues at busy times. The practical trick is to avoid “maybe prompts.” Run only prompts you’d actually use if they come out well.
Mini-verdict: Great for 5–10 second shots that spice up an edit. Not the best choice for continuity-heavy sequences or long explainers.
Luma Dream Machine (best for cinematic-feeling generations, with free-tier limits)
Luma’s Dream Machine is often chosen for more cinematic motion and camera feel, especially for b-roll-style shots with clear subjects, strong lighting cues, and plausible movement.
Strengths and common failure modes: You can get impressive texture and motion, but complex scenes can break under pressure—hands deform, faces drift, objects morph, and fast camera moves can warp the frame. Free usage is usually constrained by capacity (credits/queues) and short clip lengths.
Mini-verdict: Use it when you want your best chance at a cinematic short shot without paying. Plan for multiple takes and build your workflow around selection, not perfection.
Runway (best for a broader video toolkit; generation may be limited on free)
Runway is often more valuable as a finishing and iteration toolkit than as a pure text-to-video engine—especially on free tiers where generation or export allowances can be tight. If you can generate something “close enough” elsewhere, a strong editing layer can turn it into something publishable.
When free is still worth it: If your delivery depends on polish (clean cuts, stabilization, removing distractions, extending shots carefully), a tool like Runway can earn its place even with limits. For a workflow-first view of what matters most during finishing, see this practical guide to best AI video editing tools.
Mini-verdict: Choose it when editing and iteration matter as much as generation. Skip it if your only goal is unlimited prompt-to-video output on a free plan.
Canva (best for packaging: templates, captions, layout; text-to-video varies by plan)
Canva is primarily a packaging environment—templates, captions, brand layouts, and fast social exports. Its AI-assisted video features can be helpful, but availability and export options can vary by plan and region, so treat “text-to-video inside Canva” as something to test rather than assume.
What Canva is best at on free: Turning one or two decent clips into a clean post using layout, captions, pacing, and music. If you’re building a repeatable content system, Canva can reduce the time spent on design decisions.
Mini-verdict: Choose it if speed of packaging is the priority. If you’re evaluating generator quality, test a dedicated generator first and use Canva as the wrapper.
Practical workflow: from idea to export (free-tier friendly)
“Free” almost always means hard limits—credits, watermarks, short durations, and fewer retries. Your edge comes from making each render attempt count and doing the parts AI still struggles with (typography, exact pacing, brand consistency) in an editor.
Pick the target format first (9:16, 1:1, 16:9) and lock the duration
Decide where the video will live before you prompt. For most creators, 9:16 for Shorts/Reels/TikTok is the default; 1:1 works for feed posts; 16:9 is best for YouTube and landing pages. Lock a duration up front—on free tiers, 6–10 seconds per shot is a realistic target—so you don’t burn credits regenerating the same idea at multiple lengths.
Write “video-ready” prompts: subject, action, camera, style, lighting, environment
Think like a director writing a shot note. Your prompt should identify the subject, one clear action, framing and camera movement, visual style, lighting, and environment. Fewer elements with sharper direction usually beats cramming in extra details that compete with each other.
Use a two-pass method: generate visuals first, then add voiceover, captions, and b-roll
Generate the visuals first (hero shot or b-roll). Then add the editorial layer in a video editor: voiceover, captions, icons, and cutaways. This avoids a common failure mode—asking the model to render perfect text, logos, or on-screen UI. If you already have still images you want to animate, you may get a higher hit-rate by starting with image-to-video; compare approaches in this free-tier reality check on AI image-to-video tools.
Set expectations for reruns: you may need 5–15 generations to get one usable clip
Reliability varies by prompt and model. Faces, hands, fast motion, and crowded scenes raise the failure rate. On limited free tiers, treat each run like a deliberate test: change one variable at a time (camera move, style, action), and stop early if you see the same artifact repeating.
Prompt templates that increase hit-rate (copy, personalize, run)
Product promo template (clean, brand-safe, minimal artifacts)
Prompt: “Clean studio shot of [PRODUCT] on a matte surface, soft diffused lighting, subtle reflections, slow camera dolly-in, minimal background, modern commercial look, 9:16, 8 seconds, smooth motion, high clarity.”
Educational micro-lesson template (stable framing + space for captions)
Prompt: “Medium shot of [SUBJECT] demonstrating [SIMPLE ACTION] on a desk, static camera, bright neutral lighting, uncluttered background with empty space on the right for captions, realistic style, 9:16, 8 seconds, steady motion.”
Cinematic b-roll template (camera movement without chaos)
Prompt: “Cinematic b-roll of [SCENE], golden hour lighting, gentle handheld feel, slow lateral camera move, shallow depth of field, natural colors, 16:9, 6 seconds, calm motion, no sudden cuts.”
Negative prompt / constraints to reduce weirdness (hands, text artifacts, flicker)
Add-on constraints: “No readable text, no logos, no extra fingers, no deformed hands, no face morphing, no flicker, avoid rapid camera spins, keep the main subject consistent, keep background stable.”
Common mistakes that waste free credits (and how to avoid them)
Overstuffed prompts and conflicting style cues
Combining “photorealistic,” “anime,” “vintage film,” and “ultra futuristic” in one shot often produces muddy results. Choose one style lane. If you want variants, change one variable per generation so you can learn what actually improves the output.
Asking for text-in-video instead of adding text in an editor
Most models still struggle with crisp spelling and clean typography inside frames. Ask for negative space where captions will go, then add titles and overlays in your editor. You’ll keep control of messaging and avoid throwing away near-perfect clips because one word is garbled.
Ignoring physics and continuity (rapid transformations, morphing subjects)
Requests like “busy crowd,” “rapid outfit changes,” or “complex choreography” often trigger warping and identity drift. Break complex ideas into simple shots and stitch them in editing. Keep camera movement gentle and avoid sudden spins if stability matters.
Generating the wrong dimensions and re-rendering unnecessarily
A 16:9 clip awkwardly cropped into 9:16 can force you to regenerate, which is expensive on a free tier. Decide the platform first, lock aspect ratio, and design your caption safe zones around that layout.
Choosing the right tool fast (decision guide)
If you need a complete “script to finished social video” pipeline
Pick a script-to-video editor (often template + stock driven) if your main goal is a postable draft with captions, pacing, and voiceover options. The generator quality matters less here than the speed of assembly and the ability to iterate without starting from scratch. If your scripting process is the bottleneck, you’ll also benefit from a solid writing workflow—see this framework for choosing AI writing tools to tighten hooks, structure, and calls-to-action before you generate visuals.
If you need the best-looking 5–10 second visual shots
Pick a generator-first tool (like Luma Dream Machine or Pika) for b-roll-style scenes, intros, and stylized shots. Expect retries; on free tiers, the first output is often “close” rather than clean enough to publish.
If you need editing and polish more than generation
Choose an editor-first setup when your advantage comes from pacing, captions, and clarity. A modest but stable clip with strong cut choices and readable text often outperforms a flashy generation that flickers or morphs.
Wrap-up: Best picks by goal + next-step checklist
Recap: best overall free workflow vs best “cinematic clip” free option
If your goal is “publishable social video from a script,” a script-to-video editor (such as InVideo-style tools) is usually the fastest path—even if the free tier comes with export tradeoffs. If your goal is the most cinematic-looking prompt-generated shot on a free allowance, tools like Luma Dream Machine tend to be the most satisfying—provided you budget time for failed takes. That’s the real tradeoff behind the best free ai text to video generators: predictable assembly versus raw generation quality.
Next steps: a 10-minute test plan to validate a tool before committing
- Pick one format (usually 9:16) and one duration (6–8 seconds).
- Run one simple prompt and one slightly complex prompt (camera move + action).
- Do five generations max; stop early if the same artifact repeats.
- Export once to confirm watermark and resolution limits.
- Read the rights for your plan; don’t assume commercial use is included.
- Only then build a small prompt library and a repeatable editing template.
Final reminder: licensing and rights vary by tool and plan. A free export isn’t automatically safe for paid ads, client work, or brand channels—verify before you publish.
Frequently Asked Questions About best free ai text to video generators
What is the best free AI text-to-video generator with no watermark?
It depends on each tool’s current free-tier rules. Many “free” plans add watermarks or restrict exports. Some tools may allow occasional no-watermark exports under limited credits, but policies change. Before you invest time, do a quick test: generate one short clip and export it to confirm the watermark and resolution limits.
Are “free” AI text-to-video tools free for commercial use on social media?
Not always. Commercial rights vary by tool, model, and plan, and free tiers can have extra restrictions. Don’t assume a free export is automatically safe for paid ads or brand work. Check the licensing terms for your plan and keep a record of what tool and tier you used for each video.
Why do AI text-to-video clips flicker or change faces and how do I reduce it?
Flicker and identity drift happen because the model is synthesizing frames with imperfect consistency over time. You can reduce it by using simpler scenes, stable camera instructions, fewer characters, and shorter durations. Generate multiple takes, pick the most stable version, and add captions or overlays in an editor rather than trying to generate perfect on-screen text.
How long can a video be on free AI text-to-video plans?
Free tiers usually cap duration to short clips (often a few seconds per generation) or limit you with daily/monthly credits that constrain total output. Script-to-video editors may allow longer timelines but restrict export quality or add watermarks. For free plans, expect short, social-first output and plan your video as a sequence of small shots.
Some links in this article are affiliate links. If you buy through them we may earn a commission, at no extra cost to you. It never affects which tools we recommend.
Tools covered in this guide
 Descript
Edit video and podcasts by editing transcripts with AI-assisted production tools.
From ~$12/mo
Descript
Edit video and podcasts by editing transcripts with AI-assisted production tools.
From ~$12/mo
 Veed.io
Browser-based video editing with AI captions, cleanup, and content repurposing tools.
From ~$12/mo
Veed.io
Browser-based video editing with AI captions, cleanup, and content repurposing tools.
From ~$12/mo
 InVideo
Create and edit videos from prompts, scripts, stock media, and templates.
From ~$20/mo
InVideo
Create and edit videos from prompts, scripts, stock media, and templates.
From ~$20/mo