best ai video editing tools: a workflow-first guide for faster edits
Find the best ai video editing tools by workflow: captions, cutdowns, cleanup, repurposing, and reviews—plus what to check before you buy. Read on.
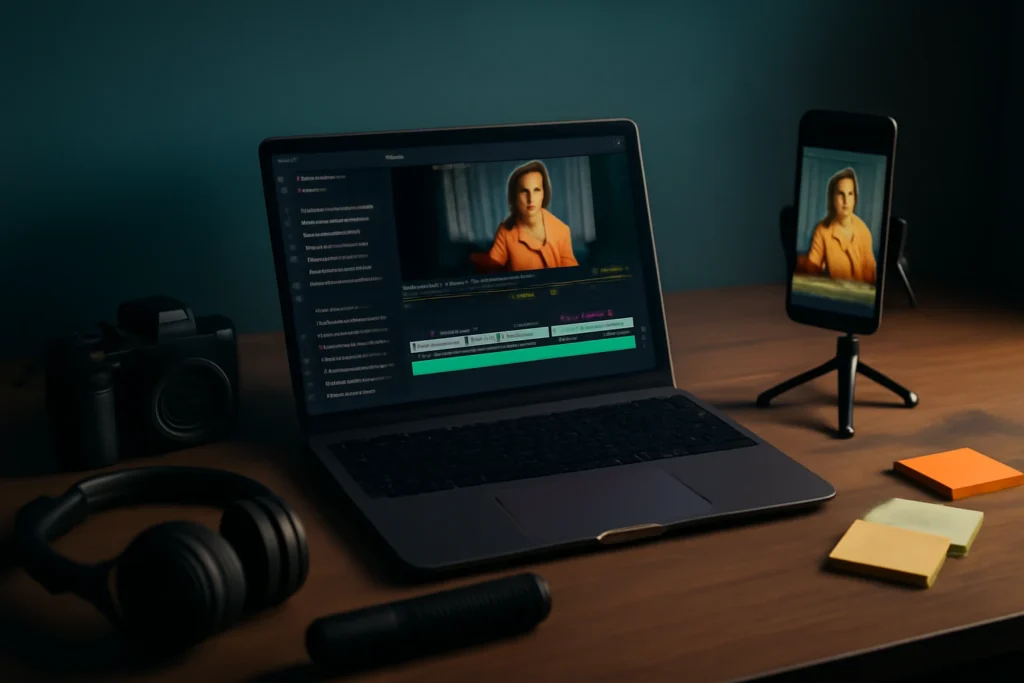
Introduction: what AI video editing actually covers (and what this guide helps you choose)
Most best ai video editing tools don’t “edit for you” end-to-end. In practice, they remove the slow parts that drag down throughput: transcribing, cutting dead air, generating captions, reframing for Shorts, and cleaning rough voice audio so you can spend your time on the decisions that affect performance (hook, structure, pacing, and story clarity).
This workflow-first guide is built for marketers, creators, and small teams who already understand timelines and exports, but want repeatable wins: captions that stay on-brand, cutdowns that keep momentum, cleaner dialogue, and a reliable process for turning one long recording into multiple clips.
The reality check matters: AI accelerates rough cuts and formatting, but you still need a human pass. Automation can absolutely make pacing worse if you accept every suggestion—especially on hook lines, comedic timing, product demos, and anything compliance-sensitive.
best ai video editing tools: the capabilities that matter (and the ones that don’t)
AI-assisted editing vs automated editing: how best ai video editing tools differ
AI-assisted editing keeps you in control of the timeline while speeding up repeatable tasks like captions, silence removal, transcript-based trimming, and aspect-ratio repackaging. Automated editing goes further: it tries to find highlights and assemble cuts for you. That can be useful for volume, but it’s riskier when your message needs nuance or when context can’t be lost.
A practical rule: if the video has to sell something, teach something accurately, or stay compliant, lean toward AI assistance with manual control. If the goal is publishing lots of “good enough” clips from long recordings, automated highlight tools can be worth adding—just budget time for review.
The AI features that reliably save time
- Auto captions with styling that can be reused across projects (speaker labels, safe placement, consistent animation rules).
- Silence removal and jump-cut assistance for talking-head footage (helpful, but easy to overdo).
- Text-based editing where you cut the transcript and the video follows (ideal for interviews, webinars, podcasts, and internal comms).
- Smart resize and reframing so vertical exports don’t crop faces, hands, or product actions.
- Voice cleanup and leveling to reduce noise and normalize volume (best used conservatively).
- Translation, subtitles, and dubbing support for localization (fast, but needs verification for names, jargon, and claims).
- Collaboration and review features (comments, version history, approvals, shared templates).
Features that are usually over-marketed: “virality scoring,” generic highlight rankings with no context, and auto-added B-roll that can make a brand look sloppy. If you can’t override the AI’s choices, treat it as a workflow risk.
Non-negotiable quality checkpoints (captions, pacing, brand, legal)
Before export, run a short checklist. Are captions correct for names, numbers, and product terms? Does the pacing still feel intentional (no awkward micro-jumps, no missing breath where a point needs emphasis)? Are titles and subtitles inside safe areas and consistent with your brand rules?
Also check rights and claims: music licenses, customer logos, and any regulated language. If accuracy is non-negotiable, manual verification is part of the job, especially for translation and dubbing where small errors can change meaning.
How to choose the best ai video editor for your workflow (not for a feature list)
The best ai video editor is the one that matches your main job-to-be-done and your constraints. Many teams end up with a two-tool workflow: one tool to accelerate rough cuts and repurposing, and another to finish and archive polished deliverables.
Start with your primary job-to-be-done
- Repurpose long to short: prioritize transcript editing, clip detection, smart resize, and batch exports.
- Ads and product marketing: prioritize templates, subtitle styling, brand presets, and manual control over timing.
- Education and explainers: prioritize readable captions, consistent layouts, and deliberate pacing.
- Sales enablement: prioritize quick updates, straightforward review/approval, and consistent outputs.
- Podcast and talking-head clips: prioritize silence removal controls, speaker labeling, and dependable voice cleanup.
Decision criteria that prevent expensive regrets
- Control over output: can you fine-tune caption timing, styling, and templates, or are you stuck with defaults?
- Speed and reliability: test processing time, queue behavior, and whether longer files fail or time out.
- Brand consistency: fonts, subtitle rules, motion presets, and whether templates can be locked for teams.
- Collaboration: comments, version history, and approvals—especially if marketing and legal both review.
- Export requirements: resolution, frame rate, bitrate, and whether watermarks appear on your plan.
- Integrations: cloud drives and publishing steps that reduce manual downloading and re-uploading.
- Usage caps: many plans gate value behind minutes processed, export limits, resolution caps, or per-seat pricing—read the usage limits before building your SOP.
Shortlist by use case: tools that tend to save real time
Browser-first editors (captions, templates, quick turnaround)
VEED is typically strongest when your workflow is captions-first: fast subtitling, styling presets, and quick social exports. It’s a practical fit for teams that want standardized templates without operating a full pro NLE for every post.
Kapwing is a strong lightweight option for shared templates and fast iteration. It’s often used when multiple people (marketing, social, founders) need to turn around consistent assets without deep editing training.
Transcript-first editing (tighten talking-head faster)
Descript tends to fit transcript-driven workflows: interviews, webinars, podcasts, and talking-head content where removing words is the fastest way to improve pacing. The main caution is rhythm—text edits can create unnatural timing if you don’t smooth transitions and reintroduce intentional pauses.
Clip discovery and automated cutdowns (volume from long recordings)
Opus Clip is often most useful as a highlight discovery engine. It can surface candidate moments quickly, but it still needs human judgment: accept what keeps context, reject what misrepresents a point, and verify hooks and claims before publishing.
Pro NLE + AI assistance (finishing, polish, and control)
Adobe Premiere Pro (with Adobe’s built-in AI features) typically makes sense if your team already works in Adobe and you want AI assistance without leaving a professional timeline. You gain end-to-end control for finishing, but browser-first tools may still be faster for pure social packaging.
DaVinci Resolve remains a common choice for color and finishing, with an expanding set of AI-assisted features depending on your setup and version. It’s a solid pick when “final look” consistency across a campaign matters. If you want background context on the editor itself, see DaVinci Resolve on Wikipedia.
Subtitles, translation, and dubbing (localization-heavy teams)
Whisper-based subtitle workflows (often paired with tools that let you fine-tune timing) are best when you need tight transcript control and don’t mind a more hands-on process. You get accuracy and editability, but you’ll add operational overhead.
Dedicated dubbing tools are the right fit when voice localization is a requirement rather than a nice-to-have. Plan time for pronunciation fixes, tone alignment, and stakeholder review—voice localization is where errors feel most obvious.
Fast “which bucket should I pick?” rules
- If captions and formatting are your bottleneck, start with a browser-first editor.
- If you edit by scripting and trimming words, pick transcript-first editing.
- If you need lots of clips from long videos, add a cutdown tool—but keep human QC.
- If polish, color, audio mix, or compliance matters, finish in a pro NLE.
A workflow-first process: from raw footage to published clips (repeatable)
Ingest and organization: prep that prevents rework
- Name files by project + date + speaker (or scene) so transcripts and versions stay traceable.
- Decide primary outputs up front (9:16, 1:1, 16:9) so you don’t rebuild layouts later.
- Collect brand assets in one folder: logo variants, fonts, subtitle rules, and licensed music/SFX.
If your workflow includes supplementary visuals (thumbnails, cutaway frames, simple overlays), it helps to standardize how you create images too. For repeatable thumbnail and overlay generation, you can adapt the process in this free AI image generator workflow guide so visuals don’t become an ad-hoc scramble per project.
Rough cut acceleration: transcript edit, conservative silence removal, scene detection
- Generate a transcript and immediately correct names, product terminology, and numbers.
- Do the transcript-first removal pass first (tangents, repeats, filler) before polishing visuals.
- Apply silence removal conservatively, then re-add breathing room where emphasis or clarity needs it.
This is where automation can damage storytelling: an overly “tight” cut can feel anxious or pushy. Listen through once at 1x speed and adjust rhythm intentionally.
Captions and styling: keep subtitles readable, consistent, and brand-safe
Start from one approved subtitle preset and reuse it everywhere. The goal isn’t novelty—it’s consistency. Captions should be easy to read on a phone and should never fight with the content (product UI, hands, slides, or demo screens).
- Keep lines short enough for mobile reading without rushing.
- Keep captions out of critical UI/product areas and inside safe margins.
- Use highlight and animation sparingly; over-styled captions can reduce trust for some audiences.
Repurpose pass: smart resize, hook-first trims, and pacing fixes
- Create a hook-first version: lead with the payoff, then add only the context needed to understand it.
- Use smart resize, then manually check framing when hands, products, or slides matter.
- Trim for momentum, then add intentional pauses back where comprehension needs it.
If you routinely add quick visual cutaways (product screenshots, diagrams, simple “scene-break” visuals), it can help to generate stills and then convert them into short motion segments when needed. A practical starting point is the workflow notes in best free AI image to video tools, which can complement editing without forcing you into heavy motion design.
Audio cleanup: reduce noise without destroying the voice
Run noise reduction and leveling after you’ve locked the cut; otherwise you’ll redo work every time you trim. Avoid aggressive denoise that creates watery artifacts, and compare A/B against the original in headphones.
If the voice track is critical (testimonials, compliance statements, demos), keep a clean backup export and document what processing you applied so results are repeatable across a campaign.
Review and approval: keep feedback centralized, then export with a checklist
- Export a review version and collect comments in one place (avoid split feedback across email and chat).
- Track versions clearly (v1, v2, final) and note what changed.
- Final export checklist: correct aspect ratio, safe margins, captions on/off as required, correct resolution/frame rate, no watermark, and audio peaks checked.
Examples: what “good” looks like in three common scenarios
Webinar to five Shorts in one hour: sequence and checkpoints
Sequence: upload webinar → generate transcript → mark 8–12 candidate moments → cut down to 5 clips → apply smart resize → apply one subtitle preset → quick audio leveling → batch export. Checkpoints: each clip needs a clear opening line in the first second, captions must be corrected for names and numbers, and the pacing must feel natural (no frantic micro-jumps).
Product demo to ad variants: hook swaps without breaking proof
Sequence: pick one “hero” demo cut → duplicate into variants → swap hooks and on-screen text → keep proof points consistent across versions → export multiple aspect ratios. Checkpoints: claims must match what the product actually does, on-screen text must be readable on mobile, and template reuse should enforce consistency rather than restrict control.
Talking-head to multi-language: subtitles vs dubbing and where quality breaks
Sequence: clean voice track → create accurate source captions → translate subtitles → decide whether dubbing is necessary for the audience. Quality usually breaks when audio is noisy, the speaker uses slang/jargon, or timing is too tight for translated text to be readable. If meaning matters (health, finance, legal), plan for manual review and consider finishing in a pro editor to keep changes auditable.
Wrap-up: choose a category, run the workflow, and measure time saved
A practical two-week evaluation plan
Pick one real project and run it through two categories (for example, browser-first vs transcript-first). Keep inputs identical, then compare time-to-first-cut, time-to-final, caption fix time, and how many manual adjustments were needed to restore pacing and brand tone.
What to document as your team’s SOP
Write down the workflow steps, your subtitle preset rules, export settings, and your QC checklist (captions, pacing, brand, legal). Add notes about usage limits (minutes processed, export caps, resolution limits) so you don’t build a process that collapses the moment you scale.
If your pipeline includes generating thumbnails and supporting visuals, standardize that too. The selection framework in Best AI Image Generator: Pick the Right Tool in 30 Minutes can help you choose an image tool that matches your volume and quality needs without constantly switching styles.
Frequently Asked Questions About best ai video editing tools
What is the best AI video editor for short-form content like TikTok and Reels?
For short-form, prioritize fast captions, smart resize, and quick iteration. Browser-based editors are often the quickest for creators and small teams, while clip-focused tools can suggest highlights from long videos. The best choice depends on whether you start from long-form recordings or shoot native vertical.
Are AI video editing tools good enough for professional YouTube videos?
They’re strong for speeding up rough cuts (silence removal, transcript edits, captions, and basic leveling), but professional results still require human judgment on pacing, story structure, and brand tone. Most teams use AI features inside a broader editing process and then do a final QC pass before publishing.
Do AI video editors replace Premiere Pro or DaVinci Resolve?
Usually not. AI editors can replace a lot of repetitive work, but pro NLEs still win for advanced color, audio mixing, complex timelines, and compliance-heavy deliverables. Many workflows combine them: use AI tooling for roughing and repurposing, then finish and archive in a pro editor when polish matters.
How accurate are AI captions and translations in video editing tools?
Accuracy varies with mic quality, background noise, accents, and industry jargon. Captions often need manual fixes for names, numbers, and claims; translations and dubbing usually need even more review. For regulated industries or legal/medical statements, plan on verification and keep edits traceable.
Some links in this article are affiliate links. If you buy through them we may earn a commission, at no extra cost to you. It never affects which tools we recommend.
Tools covered in this guide
 Descript
Edit video and podcasts by editing transcripts with AI-assisted production tools.
From ~$12/mo
Descript
Edit video and podcasts by editing transcripts with AI-assisted production tools.
From ~$12/mo
 Veed.io
Browser-based video editing with AI captions, cleanup, and content repurposing tools.
From ~$12/mo
Veed.io
Browser-based video editing with AI captions, cleanup, and content repurposing tools.
From ~$12/mo
 InVideo
Create and edit videos from prompts, scripts, stock media, and templates.
From ~$20/mo
InVideo
Create and edit videos from prompts, scripts, stock media, and templates.
From ~$20/mo