Best AI Tools to Animate Photo Into Video: Workflow Guide
Best AI tools to animate photo into video—pick the right method, avoid artifacts, and export for social or ads. Read the guide.
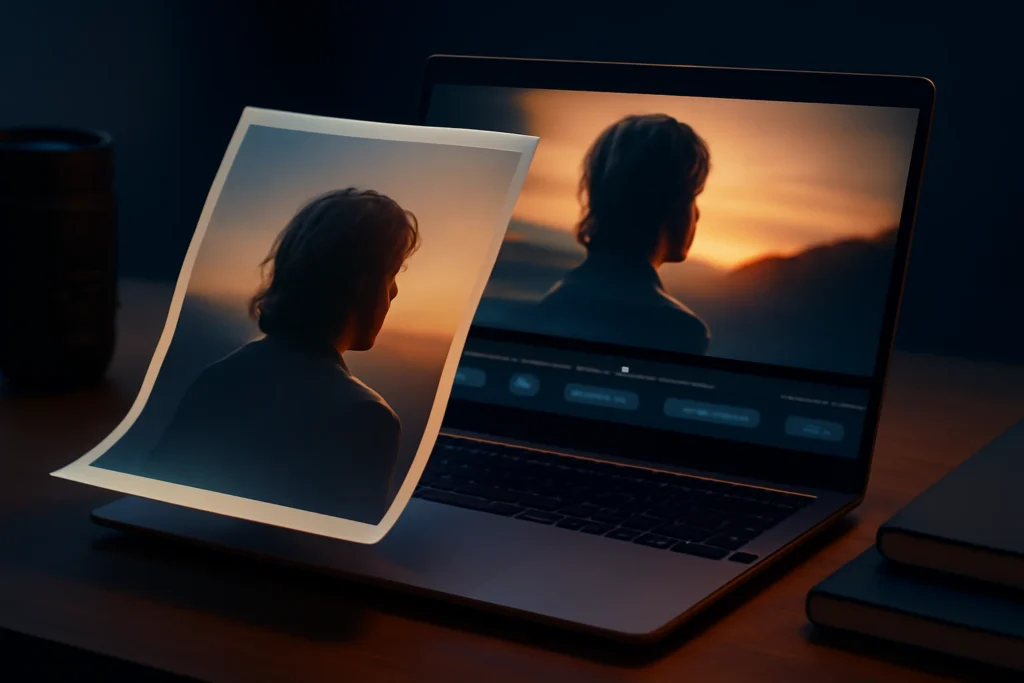
Turning a single photo into a video that looks intentional
The difference between a “moving photo” and a clip you’d actually publish usually isn’t the model—it’s the method you choose and how you prep the source image. This workflow guide to the best ai tools to animate photo into video is written for creators who want a short, stable result that doesn’t warp faces, flicker, or scream “AI” the moment it starts playing.
Instead of pushing one “magic” app, you’ll learn how to pick the right tool category for the outcome you want, then run a repeatable process that keeps artifacts under control.
What “photo to video animation” actually means (4 common methods)
Most photo-to-video results fall into four buckets. Each bucket has different strengths—and different ways it can fail.
- Talking portrait: animate a face photo with lip sync and subtle head/eye motion driven by audio.
- Parallax / 3D photo motion: estimate depth, then move a virtual camera for a realistic push-in or pan.
- Full image-to-video generation: use the photo as a reference and generate motion across the entire scene.
- Editor-first templates: turn multiple photos into a finished video using timeline edits, captions, music, and motion presets.
What you’ll build by the end of this guide
You’ll be able to pick the right category in under a minute, prep a photo so it survives animation, write a simple motion plan, render with fewer artifacts, and export correctly for Shorts/Reels/TikTok or landscape. You’ll also have a quick QA checklist to catch the common “tells” before you post.
best ai tools to animate photo into video: a quick decision guide by outcome
If you need a talking portrait (lip sync and facial motion)
Choose this when the viewer expects a face to speak: UGC-style ads, character narrations, founder intros, quick explainers, or localized voiceovers. This is also the most fragile approach—teeth, lips, and blinking can go wrong—so keep clips short and plan on a few takes.
If you’re deciding between avatar-style platforms for training and marketing, the tradeoffs are covered well in HeyGen vs Synthesia.
If you need subtle motion (parallax, depth, camera moves)
Pick parallax when you want “real camera movement” from a still: travel photos, product shots, archival images, or portraits where the face must stay stable. Done well, it reads like a gentle dolly move—not a generated scene.
If you need full scene motion (image-to-video generation)
Choose this for motion your camera never captured: wind through hair, waves, crowds, dynamic lighting, cinematic action, or mood changes. The cost is consistency—identity drift, texture changes, and flicker can show up fast, especially if you push motion too hard or generate long clips.
If you need a polished marketing video from multiple photos (templates, captions, music)
If the real goal is a finished asset (not just “a moving picture”), editor-first tools are usually the fastest route to something usable. They let you control pacing, captions, voiceover, and brand styling even if each photo only gets a subtle zoom or pan. If that’s your use case, you’ll also want the workflow ideas in Best AI Marketing Tools: A Practical Stack-Building Guide.
The tool categories that matter more than brand names
Talking portrait animators: strengths, weak spots, best inputs
Strengths: fast lip sync, expressive facial micro-movements, easy voiceover-driven edits.
Weak spots: uncanny mouths, teeth shimmer, odd blinks, and face shape “breathing.” The more your source photo is compressed or blurry, the more these problems show up.
Best inputs: a high-resolution, front-facing image with neutral lighting, sharp eyes, and minimal motion blur. Avoid hands near the face, sunglasses, heavy shadows, and tiny faces in a wide shot.
Practical note: if you’re animating a real person, you need consent and an actual licensing plan for the photo and audio—especially for ads, sponsorships, client work, or anything monetized.
Parallax and 3D photo motion tools: when they look realistic vs fake
Parallax looks realistic when depth is simple: a clear foreground subject, a midground, and a background. It looks fake when thin details (hair strands, tree branches, fence lines) get incorrectly layered, causing bending and edge halos as the camera moves.
To keep it believable, limit camera travel, protect straight lines (buildings, horizons), and don’t force depth on busy scenes. If you’re unsure, a slow push-in almost always beats a dramatic orbit.
Image-to-video generators: how to control motion and keep identity consistent
Image-to-video is powerful, but it will rewrite parts of your photo if you let it. Control comes from constraints: short duration, modest motion strength, minimal prompt changes, and iterating from the same reference photo. If you must preserve exact identity (a specific person) or details (a product label), consider parallax or an editor-first approach instead.
Editor-first tools (photo sequences to video): the fastest route to usable content
Editor-first tools win when you have multiple photos and a message to deliver. Even if each image only gets a subtle move, you can still ship strong results with captions, beat-matched pacing, and a consistent brand look. If you want to refine these edits further, see best ai video editing tools: a workflow-first guide for faster edits.
Recommended tools and what each is best at (with honest fit checks)
Editor-first options for multi-photo marketing edits
If your deliverable is a finished social ad or narrated post built from several images, start with editor-first products. Tools in this category are typically strong at scripting, captions, stock b-roll, pacing, and exports. They’re also more predictable than heavy generation because you control the timeline. Common picks here include Pictory, Canva, and CapCut.
Fit check: if your goal is “make this single photo come alive with new motion,” editor-first tools can feel limited unless you combine them with parallax or short generated segments.
Talking portrait options for a single face photo + voiceover
If you need lip sync from one portrait photo, use a dedicated talking-portrait animator. This is the right tool when the face is the story and the audience expects speech. Popular options include D-ID, HeyGen (where available), and open-source projects like SadTalker.
Fit check: these tools often look great for 5–15 seconds, then start to reveal repeating patterns or mouth artifacts if you push longer. Plan for short lines and quick cuts.
best ai tools to animate photo into video for talking portraits: the minimum photo requirements
- Resolution: use the highest-resolution original you have; avoid heavily compressed social downloads.
- Face size: the face should fill a meaningful portion of the frame (not a tiny head in a wide shot).
- Sharpness: crisp eyes and mouth edges matter more than “beauty retouching.”
- Lighting: even lighting reduces weird shading changes during motion.
- Occlusions: avoid microphones, hands, hair across lips, and busy patterns near the mouth.
If your source photo is low quality, a gentle parallax move (or an editor-based sequence with a slow zoom) usually looks more professional than forcing lip sync.
Parallax options for travel, product, and archival photos
For realistic “camera movement,” look for tools that either create a depth map automatically or let you manually separate layers (subject vs background). Common picks include Motionleap (mobile), LeiaPix-style 3D photo tools, and built-in “3D zoom” effects inside some editors.
Fit check: if your photo has lots of overlapping hair, transparent fabrics, or complex textures, expect edge artifacts. Keep moves smaller and durations shorter.
Image-to-video options for creative motion (with more risk)
When you want atmospheric motion—smoke, rain, fabric movement, mood lighting—image-to-video generators are the right category. Creators often use tools such as Runway, Pika, or Kaiber for this style of work.
Fit check: if you must keep faces, logos, or packaging text consistent, this category can be unpredictable. Also, text inside the original image may get reinterpreted frame-to-frame, so avoid signage and labels where possible.
If you’re exploring generator-based workflows more broadly (beyond photo animation), best free ai text to video generators: real free tiers + workflow is a useful companion guide.
Mobile-first apps for quick social posts (limited control)
Mobile apps are convenient for fast parallax, preset animations, and template edits. They’re great for creators shipping daily content, but they often limit fine masking, stability controls, and export options.
Fit check: for paid ads, strict brand work, or anything where the face must hold up under scrutiny, you’ll usually want more control than most mobile tools offer.
Step-by-step workflow: animate a photo into a video that passes a quality check
Step 1: Choose the outcome (speech vs parallax vs generative motion vs template video)
Decide what the viewer should notice: speech, camera movement, scene action, or message delivery. If your priority is realism, pick parallax or editor-first. If your priority is expressive motion, pick talking portrait or image-to-video and plan on retakes.
Step 2: Prepare the photo (resolution, cropping, cleanup, face clarity)
Start with the cleanest source you can. Low resolution, heavy compression, or motion blur creates artifacts that no tool reliably fixes—so don’t plan on “saving a bad photo” with generation.
- Crop to the final aspect ratio early (9:16, 1:1, 16:9) so faces don’t get cut off later.
- Remove tiny distractions that shimmer (small text, thin wires, dense patterns).
- For portraits: keep eyes and mouth sharp; reduce harsh shadow edges if they cut across the face.
Step 3: Write a one-sentence motion plan
A motion plan is one sentence, for example: “Slow push-in for 6 seconds; subject stays stable; background drifts slightly; no motion on any text.” This prevents the common mistake of turning every control up and hoping it works out.
Step 4: Generate or animate (baseline settings worth repeating)
- Set a short test duration (start at 4–8 seconds).
- Keep motion strength modest; increase only after you confirm stability.
- Choose a safe camera: push-in or gentle pan is usually the cleanest.
- If you have facial controls, reduce expression intensity for more realism.
- Iterate from the same source photo so you can compare changes apples-to-apples.
Step 5: Add audio and captions (where most “professional” results come from)
If your video needs explanation or a call to action, audio and captions often matter more than complex animation. Edit for pacing, cut on beats, and keep captions inside platform-safe margins. If you’re building marketing assets, prioritize clarity: a stable 6-second clip with strong text usually outperforms a messy 12-second “wow” animation.
Step 6: Export for TikTok, Instagram Reels, YouTube Shorts, and landscape
Export for where it will live, not where you made it. For Shorts/Reels/TikTok, use 9:16 and keep faces and key text away from UI overlays. For YouTube and web embeds, 16:9 is often cleaner. If your tool allows it, export a high-quality master first, then make platform-specific versions.
Step 7: Run a 30-second QA checklist before posting
- Mouth/teeth (talking portraits): pause and look for shimmering teeth, sliding lips, or odd jaw movement.
- Edges (hair, glasses, jewelry): check for halos, bending, or “melting” on fine details.
- Background stability: watch for flicker or texture crawling.
- Crop and captions: confirm you didn’t cut off chins/foreheads and that text stays readable.
- Method check: if it looks uncanny, switch categories (parallax or editor-first) instead of over-tuning settings.
Common mistakes that make AI photo animations look cheap
Over-aggressive motion on hair, teeth, hands, and text in-frame
These are the first places viewers notice problems. Reduce motion strength, shorten the clip, and keep delicate areas as stable as you can. If the image contains signage or packaging text, avoid full-scene generation whenever possible.
Using low-quality photos and trying to “fix it in the generator”
Compression blocks and blur turn into crawling textures and edge noise. If you can’t reshoot or find a higher-quality original, choose minimal motion and lean on editing, captions, and pacing for impact.
Ignoring aspect ratio until export
Crop first. A good animation becomes unusable if the platform crop removes the eyes or mouth. Build inside the final frame from the start, especially for vertical formats.
Not controlling identity across multiple shots
Image-to-video tools can subtly change faces, outfits, or product details between clips. If consistency matters, reuse the same reference photo, keep prompts stable, and consider editor-first sequences using multiple real photos instead of multiple generated scenes.
Skipping rights and consent checks
Rights and consent are constraints, not fine print. Don’t animate someone’s face for commercial content without permission, and don’t assume a web image is usable. If you’re unsure why this gets sensitive quickly, read the overview of deepfakes and how likeness misuse is commonly discussed.
How to pick in 60 seconds and what to do next
The 3 questions that select the right category fast
- Do I need speech on a face? If yes, use a talking portrait tool (short clips, high-quality photo).
- Do I need realism from a real photo? If yes, use parallax (restrained camera move).
- Do I need a finished marketing asset fast? If yes, use editor-first templates (photos + captions + audio).
A simple next-step plan for your first publishable video
Pick one photo and one outcome, then render a 6-second draft with restrained motion. Run the QA checklist, fix the photo or reduce motion, and only then add audio and captions. Once you can repeat that reliably, scale up to multi-photo edits and lock a consistent format for your channel or brand.
Frequently Asked Questions About best ai tools to animate photo into video
What is the best AI tool to animate a photo into a talking video?
If you specifically need lip-sync from a single face photo, use a dedicated talking-portrait animator that supports face-driven motion plus audio upload. They can work well for short clips, but expect occasional mouth/teeth artifacts and slight identity drift—especially with low-resolution photos—so test a 5–10 second segment first.
How do I make a still photo look like it has real camera movement (parallax) without warping?
Use a parallax/3D photo motion approach and keep camera moves subtle: slow push-in, slight pan, and limited perspective shift. Start with a high-resolution image, avoid complex overlapping details (hair, jewelry, foliage), and mask or protect key edges when your tool supports it so the depth effect doesn’t bend faces or straight lines.
Why do AI photo animations look flickery or “uncanny,” and how do I fix it?
Flicker usually comes from inconsistent frame-to-frame detail, while “uncanny” results show up most in faces, teeth, and fine textures. Fix it by reducing motion intensity, shortening the clip, using a higher-quality source photo, and switching to parallax or editor-based templates when realism matters more than dramatic movement.
Can I use copyrighted photos or celebrity images to generate animated videos?
Often, no—or not safely. Copyrighted images and celebrity likenesses can violate licensing terms, platform policies, or local laws. Use photos you own, properly licensed stock, or content you have written permission to use, and get consent when animating real people (especially for commercial use).
Some links in this article are affiliate links. If you buy through them we may earn a commission, at no extra cost to you. It never affects which tools we recommend.
Tools covered in this guide
 Descript
Edit video and podcasts by editing transcripts with AI-assisted production tools.
From ~$12/mo
Descript
Edit video and podcasts by editing transcripts with AI-assisted production tools.
From ~$12/mo
 Veed.io
Browser-based video editing with AI captions, cleanup, and content repurposing tools.
From ~$12/mo
Veed.io
Browser-based video editing with AI captions, cleanup, and content repurposing tools.
From ~$12/mo
 InVideo
Create and edit videos from prompts, scripts, stock media, and templates.
From ~$20/mo
InVideo
Create and edit videos from prompts, scripts, stock media, and templates.
From ~$20/mo